USER GUIDE
ICTFax User Guide
The ICTFax portal gives you a straightforward set of tools to send faxes, manage your contacts, and review your fax history. This guide walks you through every feature available in the standard user role.
Table of Contents
- 1. Dashboard
- 2. Send Bulk Fax (Campaigns)
- 3. Send Single Fax
- 4. Email to Fax
- 5. Contacts Management
- 6. Fax Documents
- 7. Configuration
- 8. CDR Reports
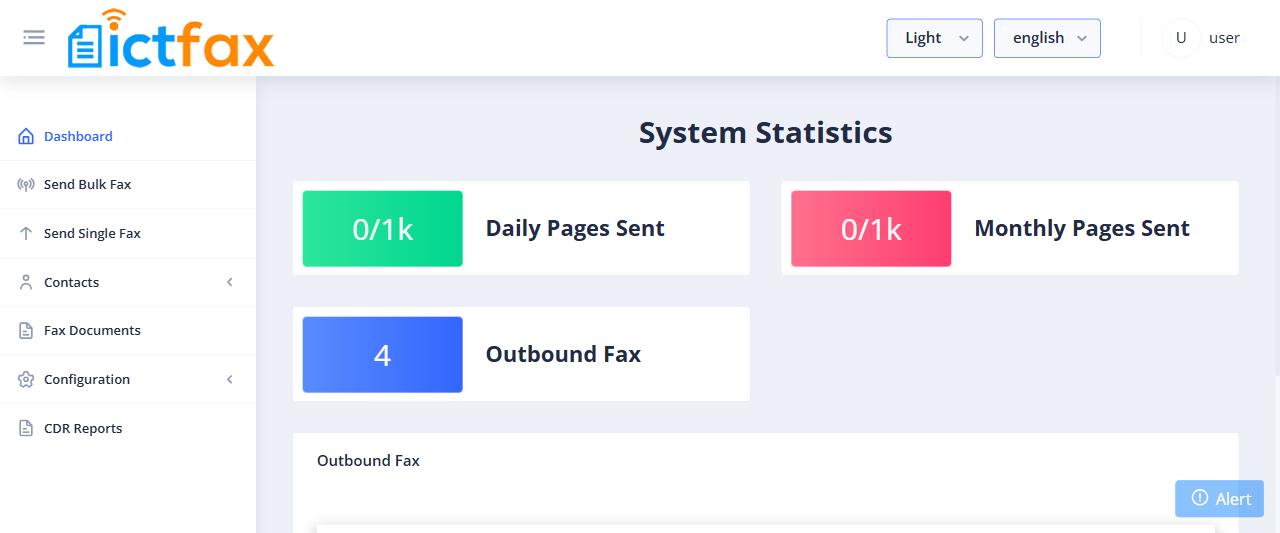
1. Dashboard
The Dashboard shows your personal fax statistics: outbound faxes sent, inbound faxes received, and a live table of your most recent fax jobs with their current status.
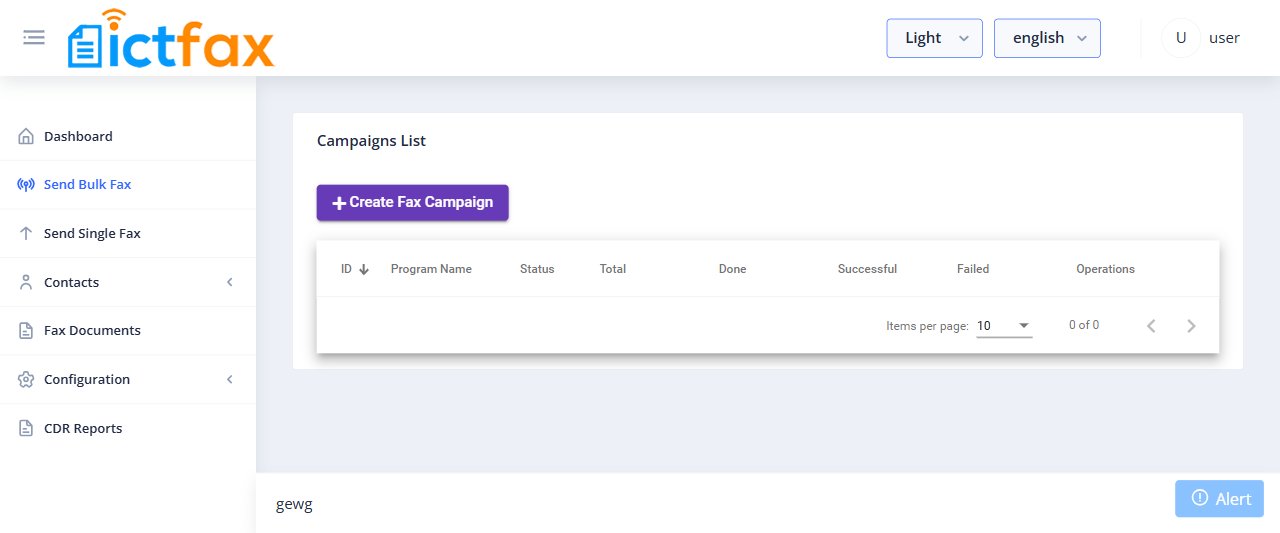
2. Send Bulk Fax (Campaigns)
Use fax campaigns to send the same document to many recipients in a single operation.
Steps to create a campaign
- Open the navigation menu and select Send Bulk Fax.
- Click Create Fax Campaign.
- Enter a campaign title and select the fax document.
- Choose the contact group to send to.
- Set the number of retries and calls per minute, then save.
- Click Start to begin sending.
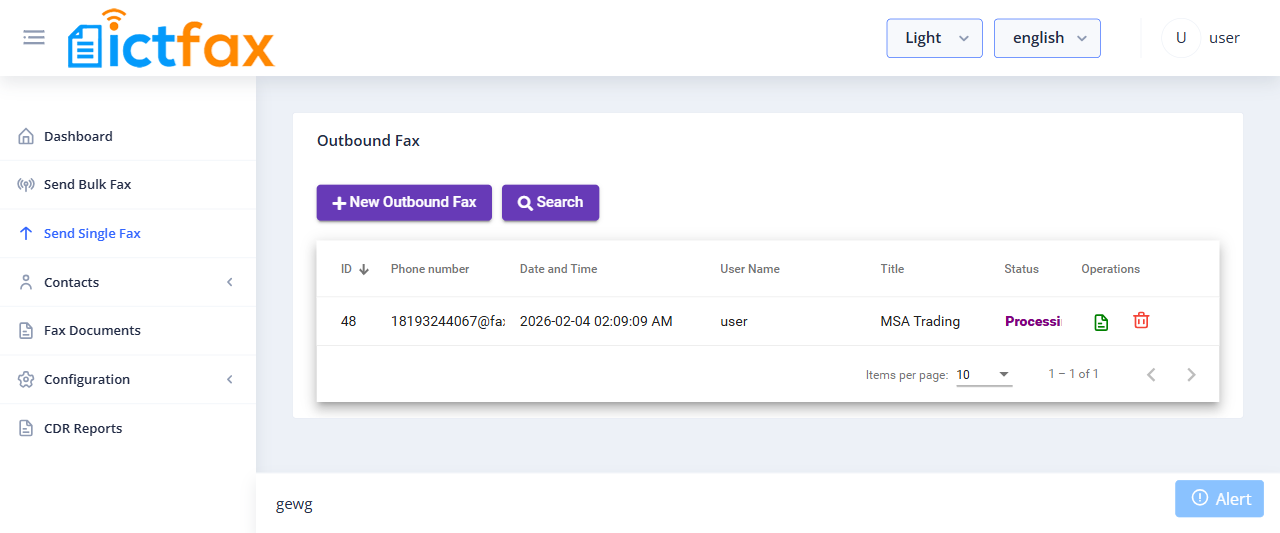
3. Send Single Fax
Send a one-off fax to a single recipient without creating a campaign.
Steps to send a single fax
- Select Send Single Fax from the menu.
- Click New Outbound Fax.
- Enter the fax title and upload your document.
- Enter the destination phone number.
- Select your Caller ID and the number of retries, then submit.
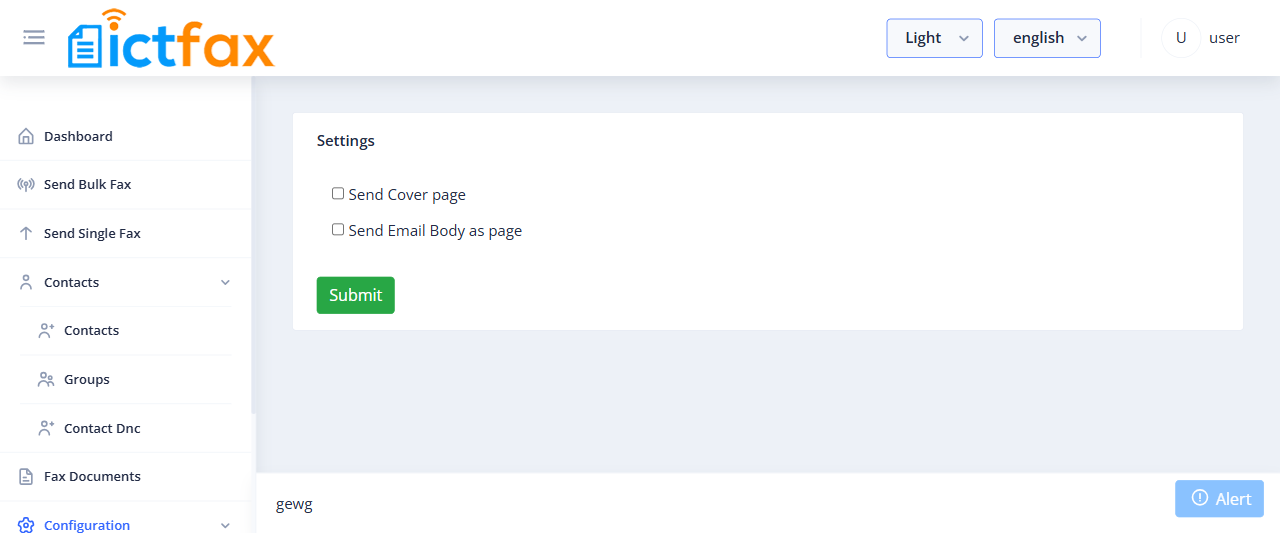
4. Email to Fax
ICTFax supports sending faxes directly from your email client without logging in to the portal. Your tenant administrator sets up the Email-to-Fax gateway. Once enabled, you attach your document to an email addressed to faxnumber@yourdomain.com and send it. ICTFax converts the attachment and transmits the fax automatically. Contact your tenant admin to get your assigned Email-to-Fax address.
5. Contacts Management
Contact Groups
Create groups to organize contacts for use in campaigns.
- Go to Contacts > Groups.
- Click Add Group.
- Enter a group name, upload a CSV of contacts, add a description, then save.
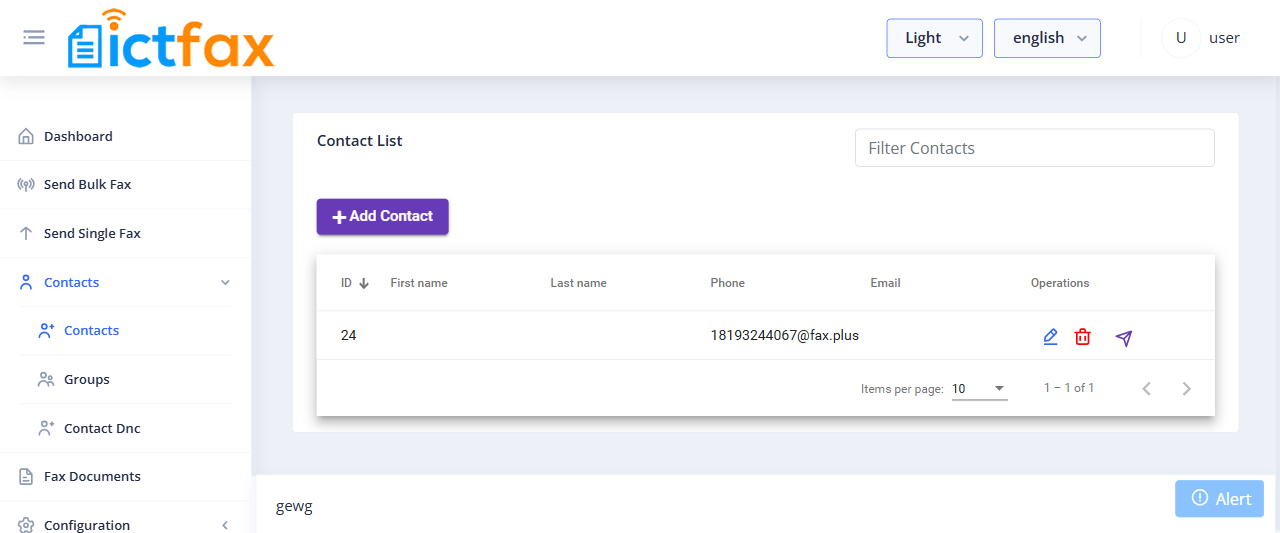
Individual Contacts
- Go to Contacts > Contacts.
- Click Add Contact.
- Enter the contact’s first name, last name, phone number, and email, then save.
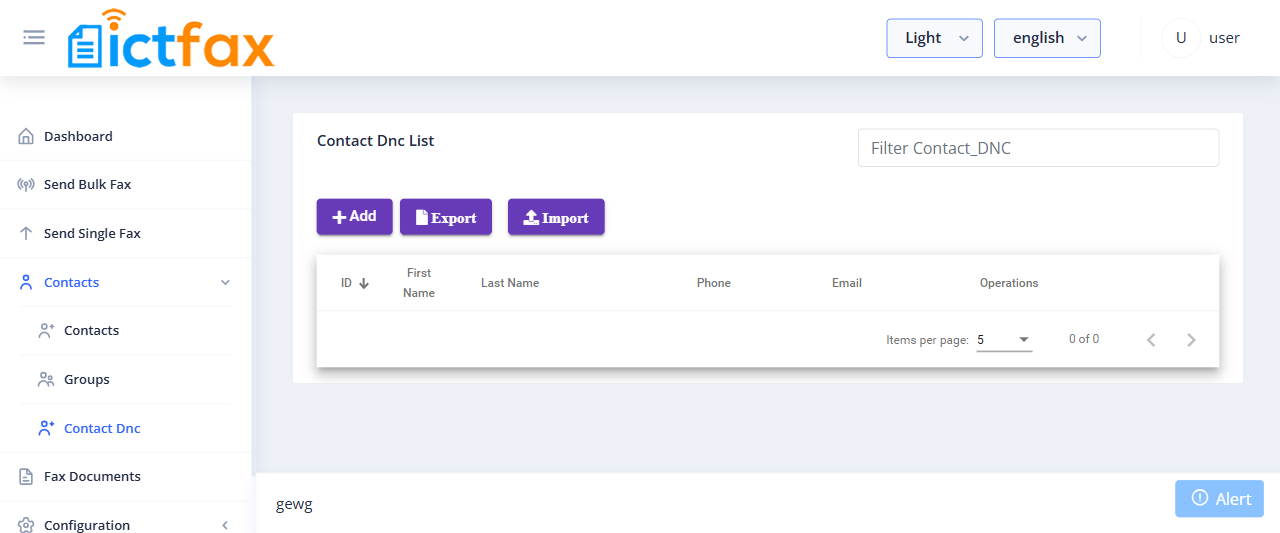
Contact DNC (Do Not Contact)
The DNC list blocks specific numbers from receiving your faxes. The system checks it automatically before every send.
- Go to Contacts > Contact DNC.
- Click Add DNC, enter the number you want to block, and save.
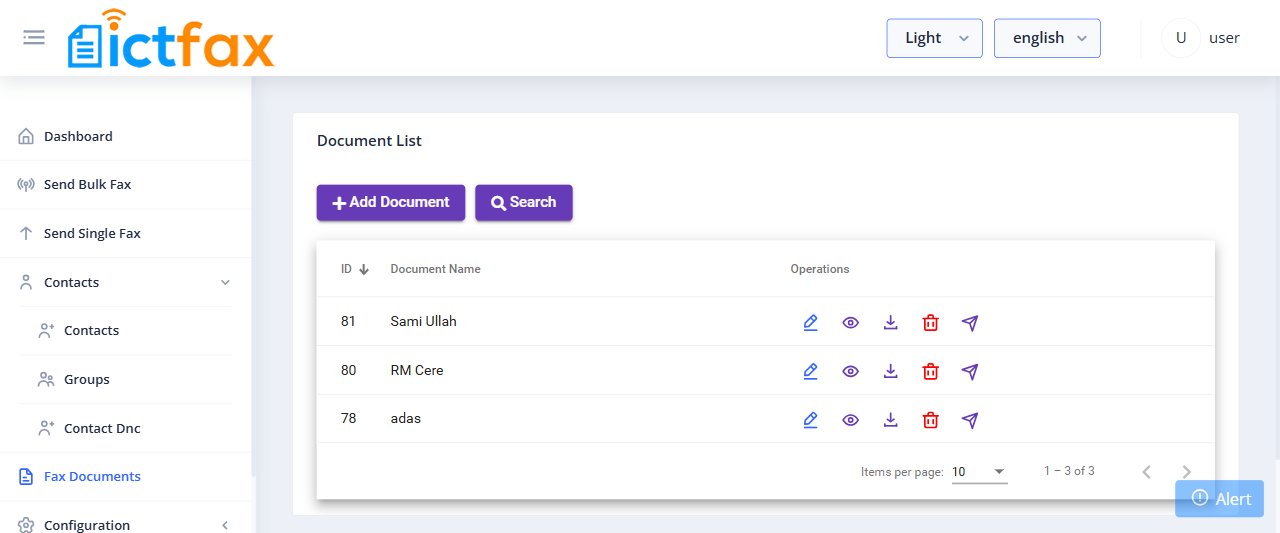
6. Fax Documents
Upload documents to the portal so you can reuse them in campaigns and single sends without re-uploading each time.
- Go to Fax Documents.
- Click Add Document.
- Enter a name for the document, upload your file, and choose the quality setting (Standard, Fine, or Super Fine).
7. Configuration
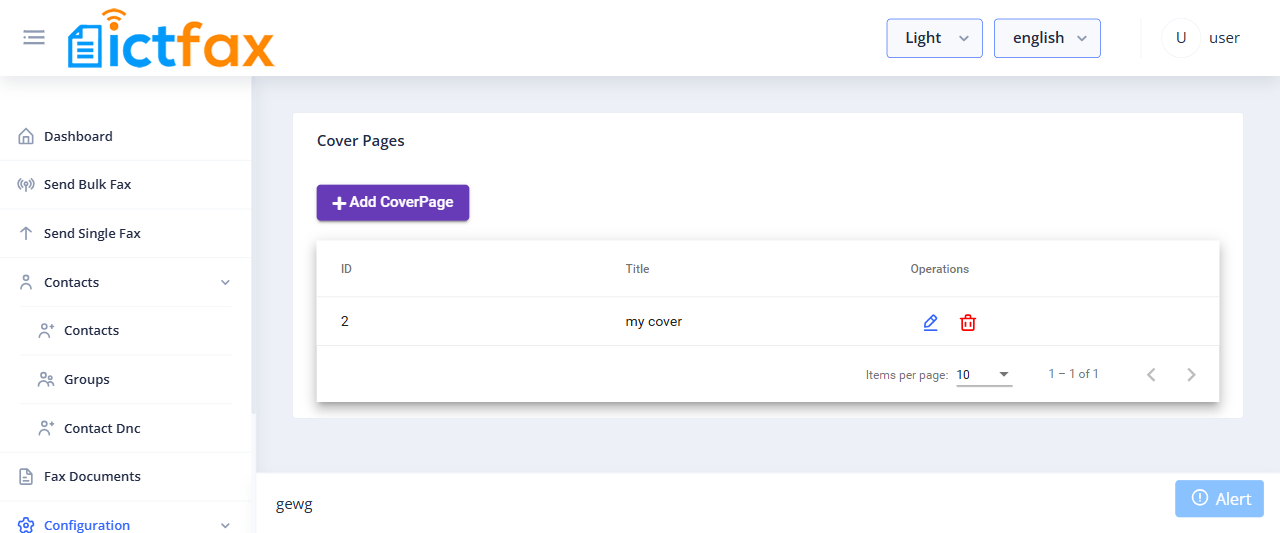
Cover Page
When enabled, a cover page is prepended to every fax you send. It shows your sender details (Send By, Send To, Phone, Date, Subject) before the actual document reaches the recipient.
- Go to Configuration > Cover Page.
- Enable the cover page and fill in your default sender information, then save.
Fax Settings
Adjust your personal fax parameters such as default fax quality and other transmission preferences.
- Go to Configuration > Fax Settings.
- Update the settings you want to change and save.
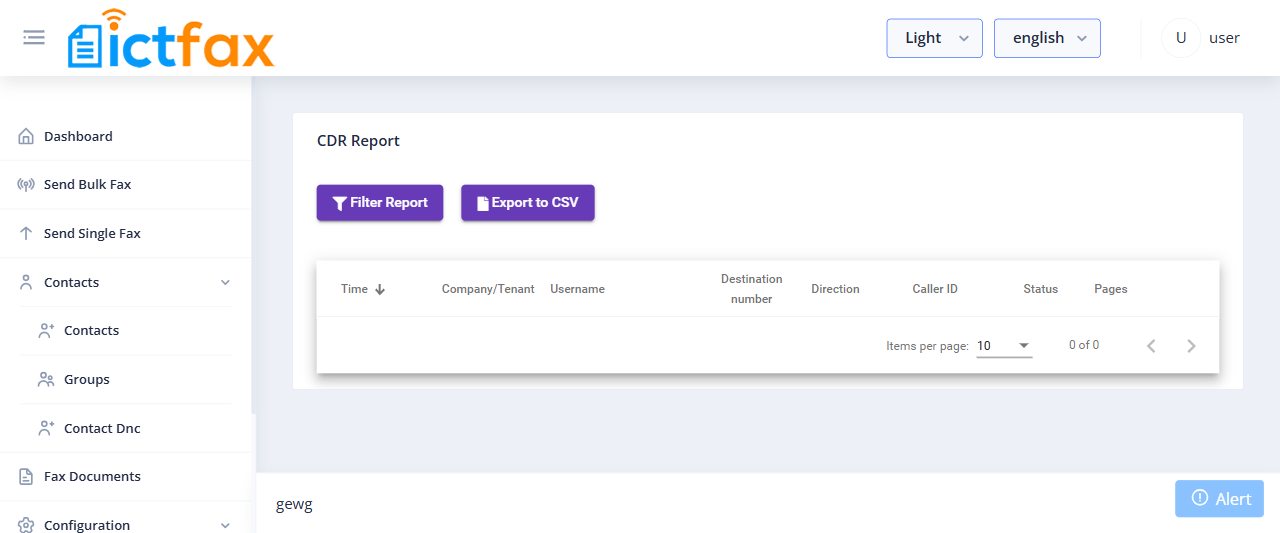
8. CDR Reports
CDR (Call Detail Records) shows the complete history of your outbound fax jobs: send time, destination number, document name, status, and page count. Use this to track delivery and troubleshoot failed sends.
- Go to CDR Reports.
- Filter by date range, then review the results in the table.