ICTFax Admin Guide
This guide covers every feature available to the ICTFax system administrator. Log in at demo.ictfax.com with your admin credentials to follow along.
Table of Contents
- 1. Dashboard
- 2. Send Bulk Fax (Campaigns)
- 3. Send Single Fax
- 4. Receive Fax / Inbound Fax
- 5. Contacts Management
- 6. Fax Documents
- 7. My DIDs
- 8. My CIDs
- 9. Administration
- 10. Routings
- 11. Configuration
- 12. Reports
1. Dashboard
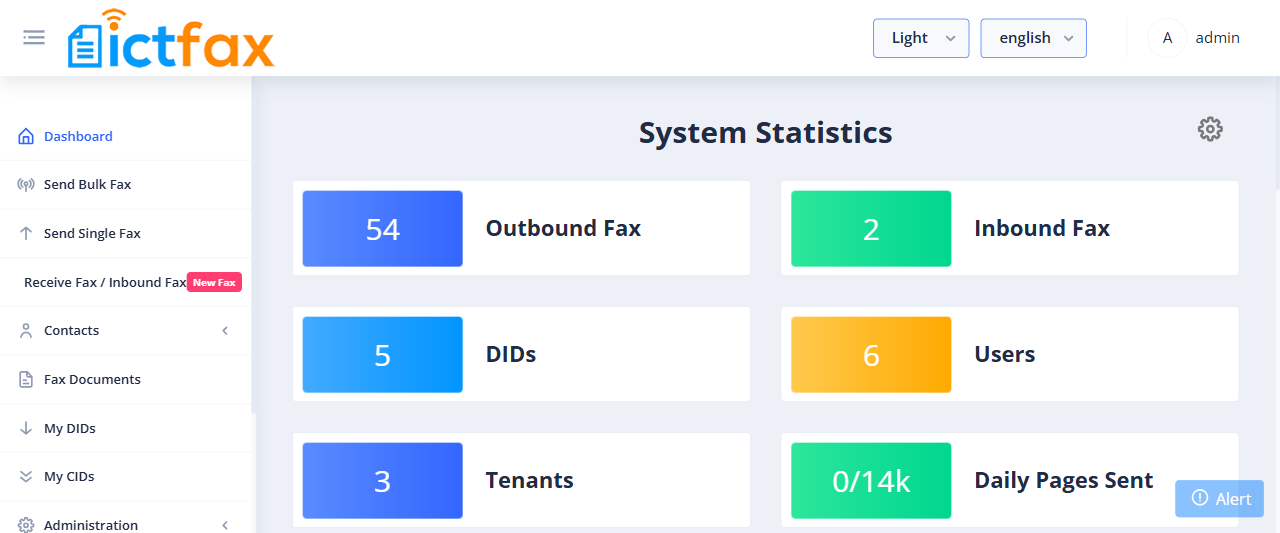
The Dashboard is the first screen you see after login. It shows a real-time System Statistics panel with seven key metrics: Outbound Fax count, Inbound Fax count, assigned DIDs, total Users, total Tenants, Daily Pages Sent (with daily limit), and Monthly Pages Sent. The panel also displays a live table of the most recent outbound fax jobs with status.
2. Send Bulk Fax (Campaigns)
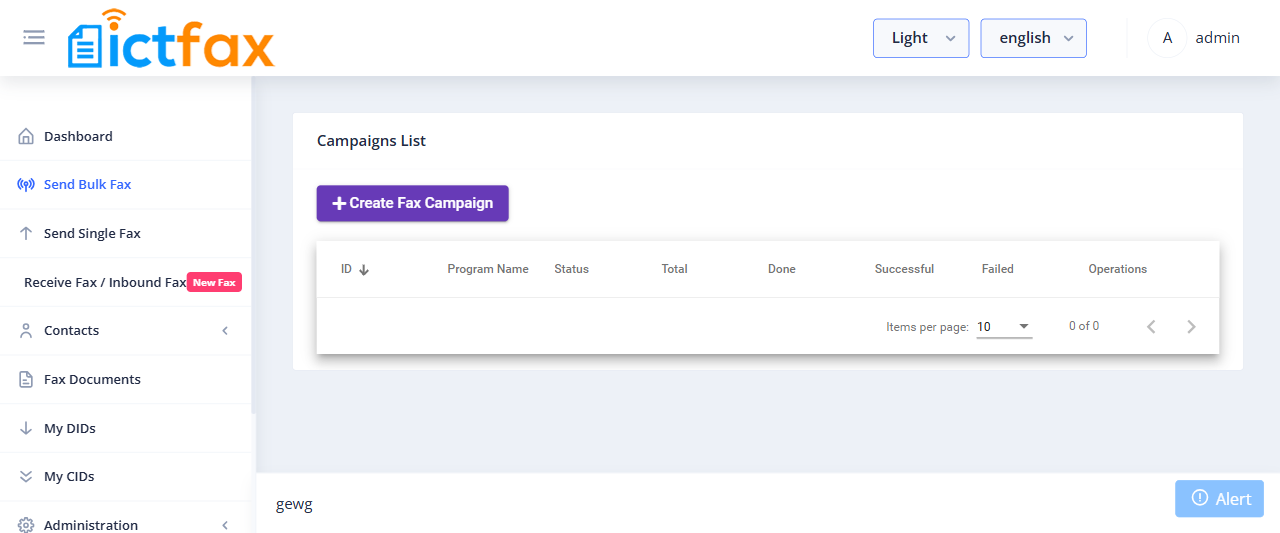
Use Fax Campaigns to send the same fax document to many recipients at once. This is the primary tool for bulk fax marketing.
Steps to create a campaign
- Open the navigation menu and select Send Bulk Fax.
- Click Create Fax Campaign in the top-left corner.
- Enter a campaign title and select the fax document to send.
- Select the contact group (recipients).
- Set the number of retries and calls per minute, then save.
- Click Start to launch the campaign.
3. Send Single Fax
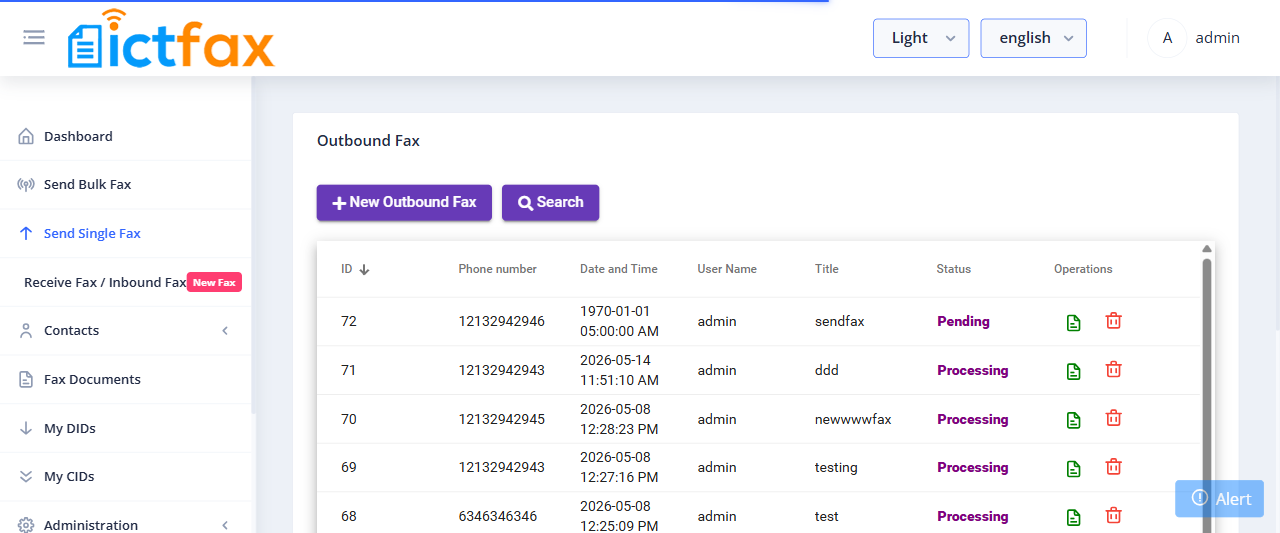
Send a single fax to one recipient directly from the portal without setting up a campaign.
Steps to send a single fax
- Open the navigation menu and select Send Single Fax.
- Click New Outbound Fax.
- Enter the fax title, choose or upload your fax document.
- Enter the destination phone number.
- Select the Caller ID and number of retries, then submit.
4. Receive Fax / Inbound Fax
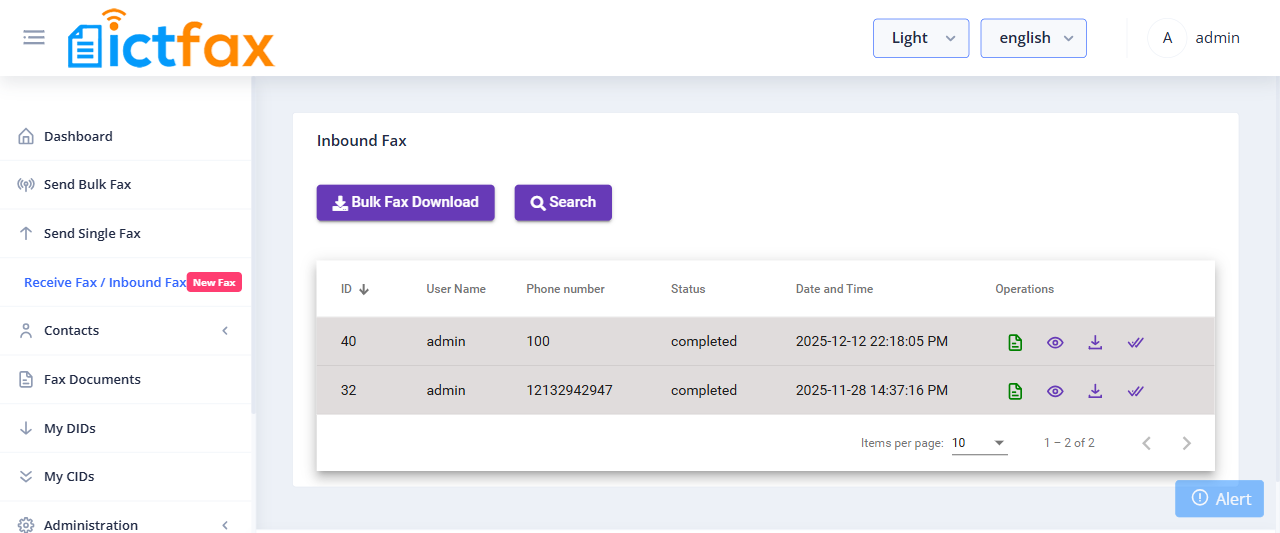
All incoming faxes appear under Receive Fax / Inbound Fax. As admin, you can view incoming faxes across all users and tenants. Note that fax content is hidden from the admin view by default to comply with HIPAA privacy rules.
Forward incoming faxes by email
- Go to My DIDs and click the forward arrow for a DID number.
- Select Fax to Email, enter the destination email address, and save.
- Any fax received on that DID will now be forwarded to the configured email and appear in the recipient user’s Receive Fax list.
5. Contacts Management
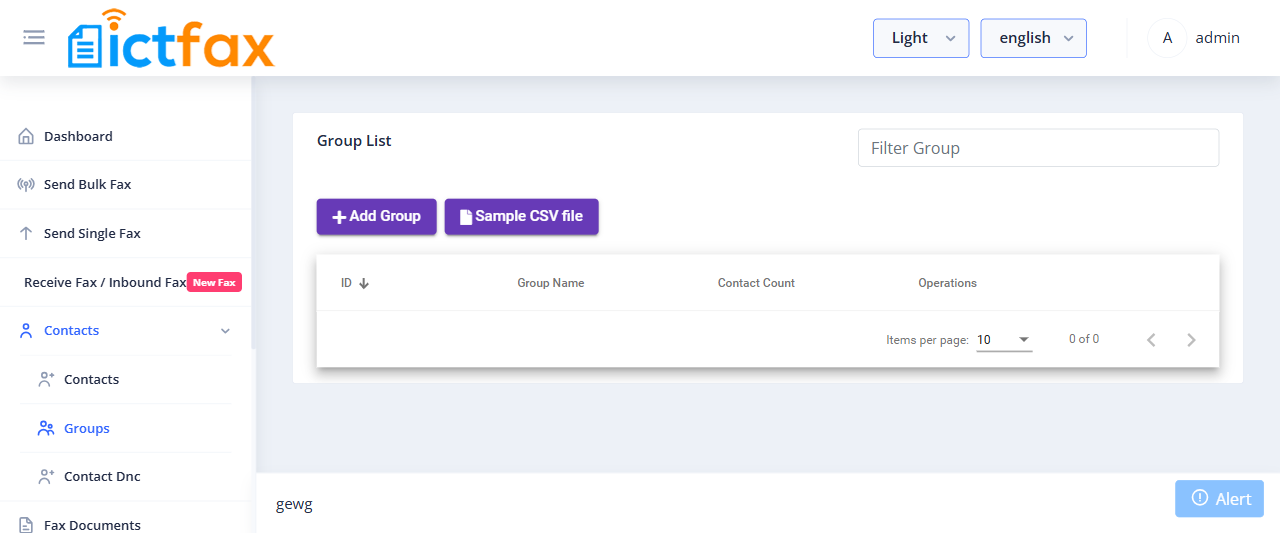
Contact Groups
Group contacts together for use in bulk fax campaigns.
- Go to Contacts > Groups.
- Click Add Group.
- Enter the group name, upload a CSV file of contacts, and add an optional description, then save.
Individual Contacts
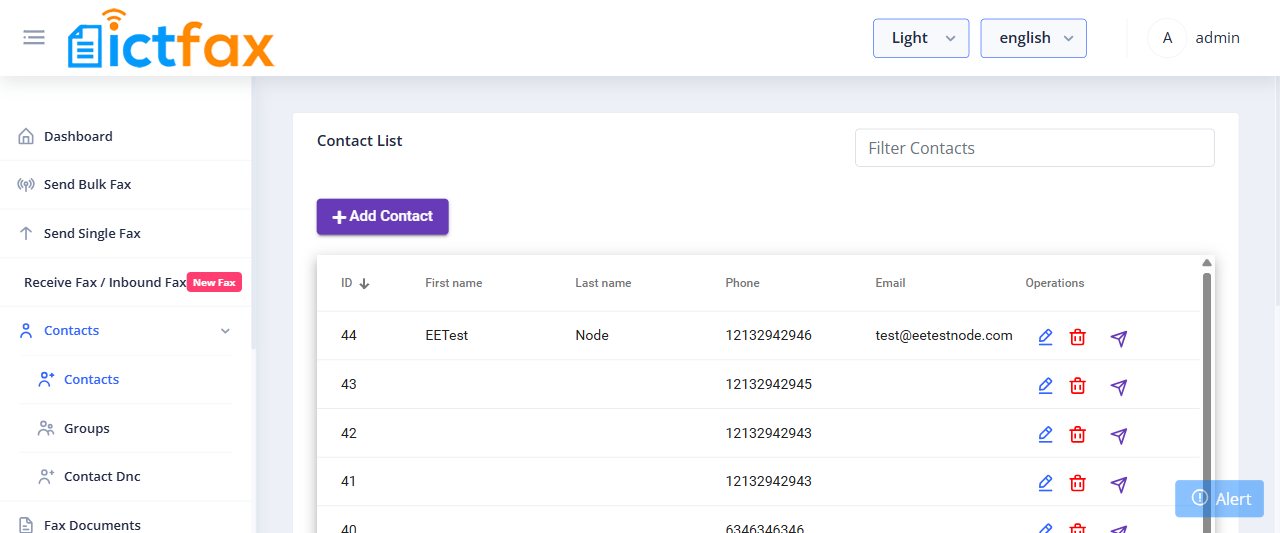
- Go to Contacts > Contacts.
- Click Add Contact.
- Fill in first name, last name, phone number, email, and any custom address fields, then save.
Contact DNC (Do Not Contact)
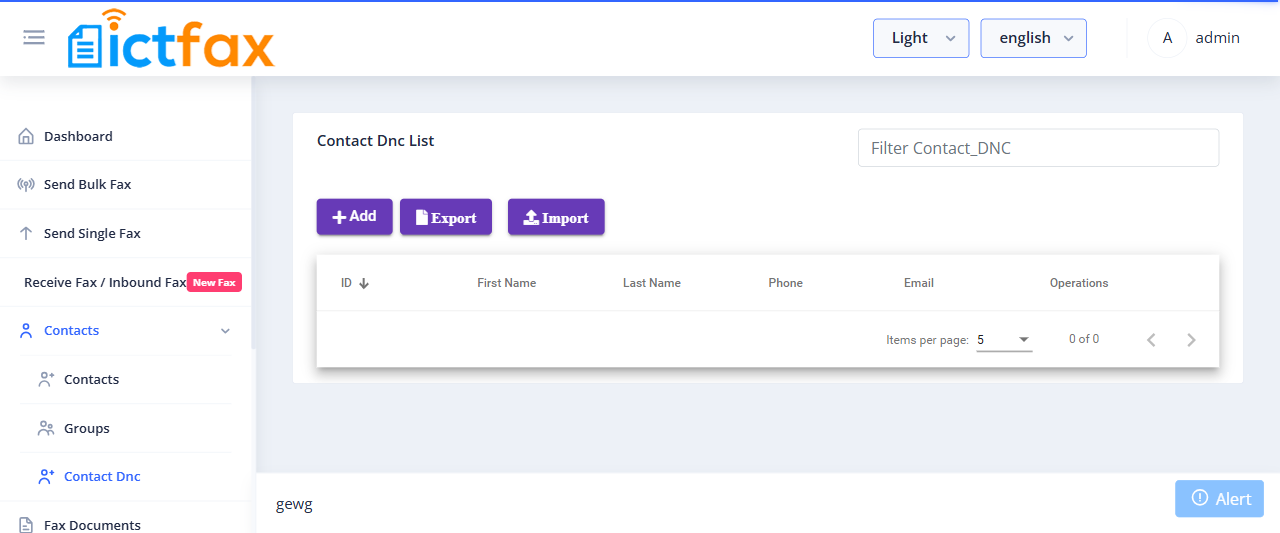
The DNC list lets you block specific numbers from receiving faxes. Any number added here will be excluded from all campaigns automatically.
- Go to Contacts > Contact DNC.
- Click Add DNC, enter the phone number, and save.
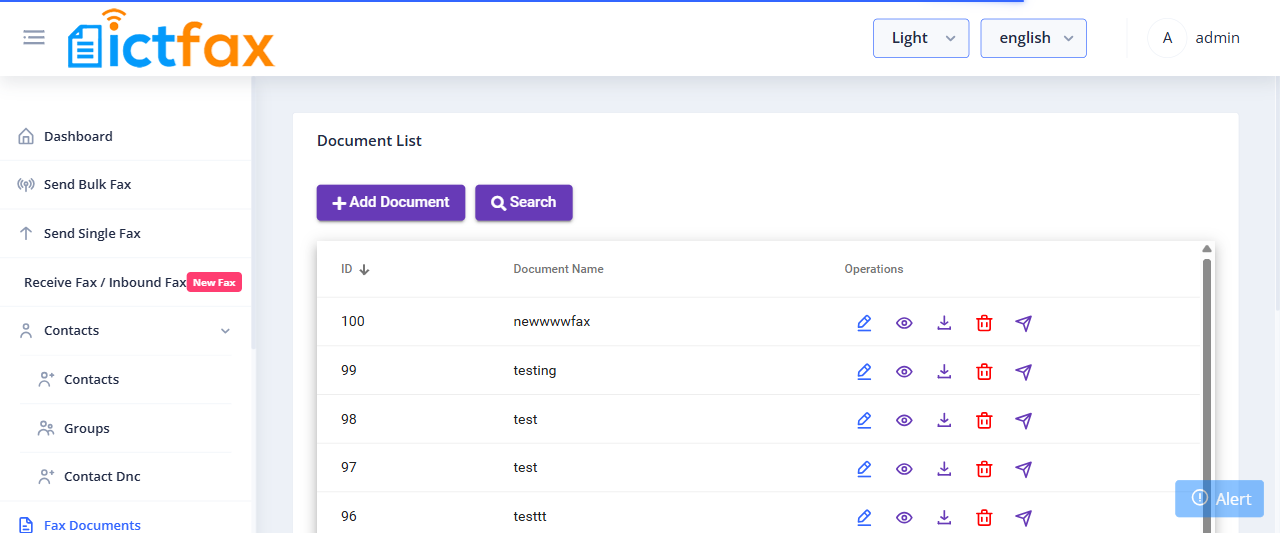
6. Fax Documents
Upload and manage fax documents that you can reuse across campaigns and single fax sends.
- Go to Fax Documents.
- Click Add Document.
- Enter a document name, upload the file, and select the fax quality: Standard, Fine, or Super Fine.
7. My DIDs
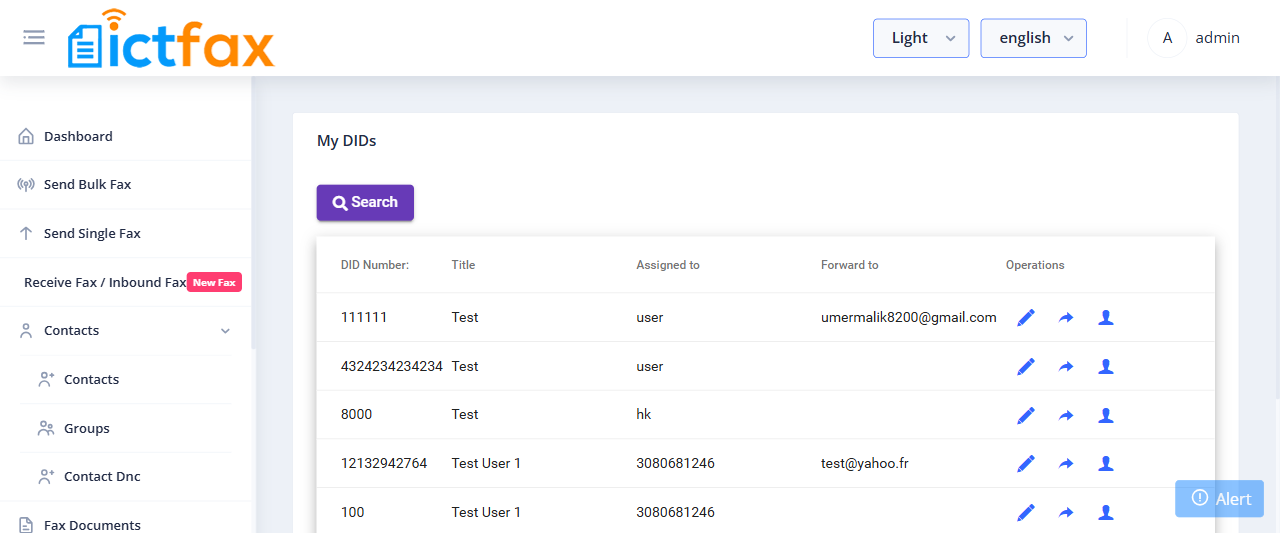
DIDs (Direct Inward Dialing numbers) receive incoming faxes. As admin, you can view and manage DIDs across all tenants.
- Go to My DIDs.
- Click the forward arrow on any DID to configure Fax-to-Email forwarding.
- Select Fax to Email, enter the target email, and save.
8. My CIDs
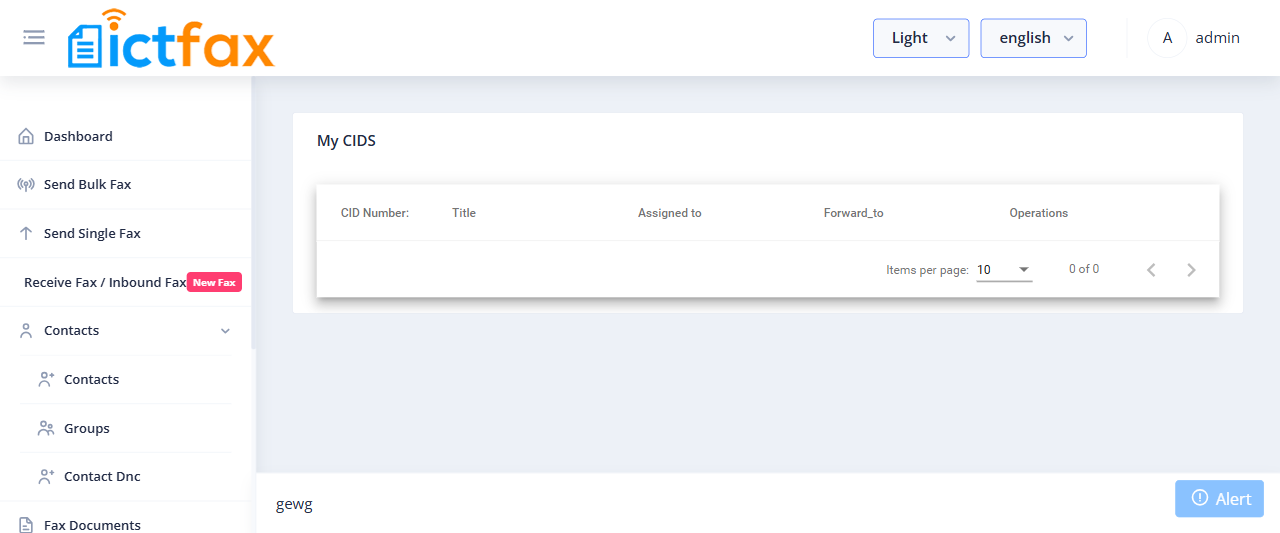
CIDs (Caller IDs) are the numbers displayed to fax recipients when you send outbound faxes. The My CIDs page shows all caller IDs assigned to your account.
- Go to My CIDs to view your assigned caller ID numbers.
- Select a CID when sending a single fax or configuring a campaign.
9. Administration
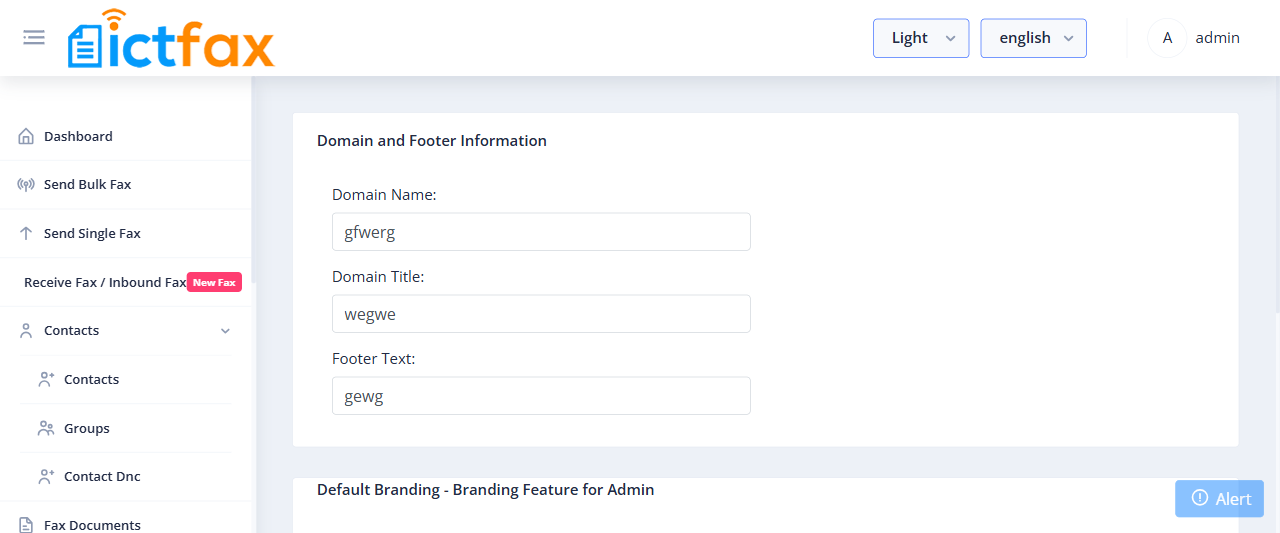
Branding
Customize the portal with your company identity. Tenants can also set their own branding independently.
- Go to Administration > Branding.
- Enter your domain name, company name, and footer text.
- Upload your company logo, then save.
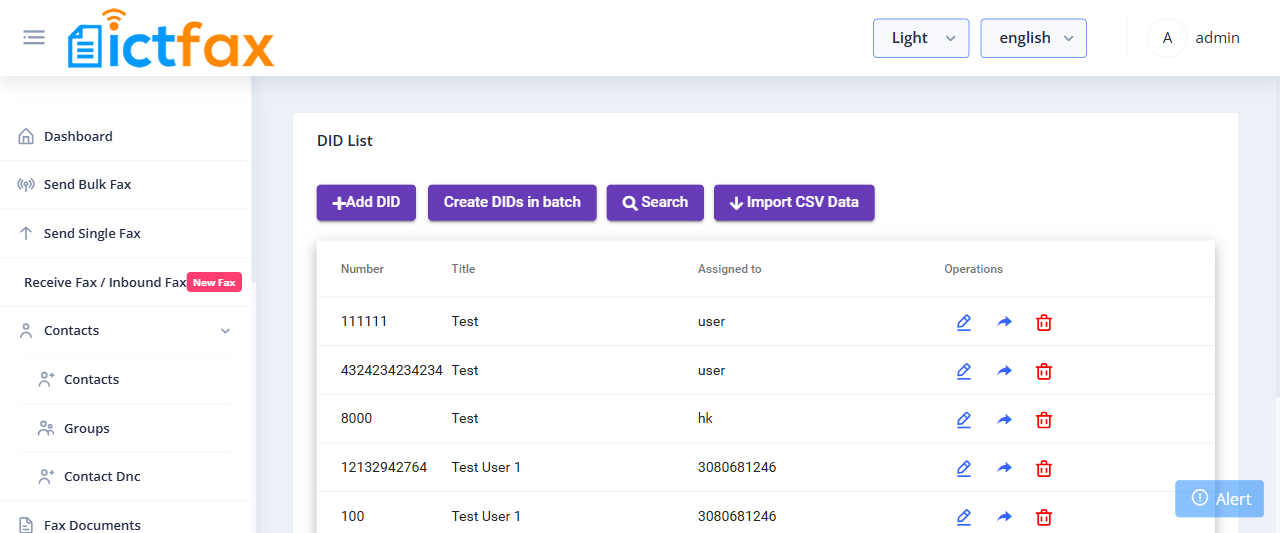
DID Number
Add and manage the pool of DID numbers available in the system. You can assign these to tenants and users.
- Go to Administration > DID Number.
- Click Add DID, enter the number and title, then save.
- Use the forward arrow to assign a DID to a specific user or tenant.
CID Number
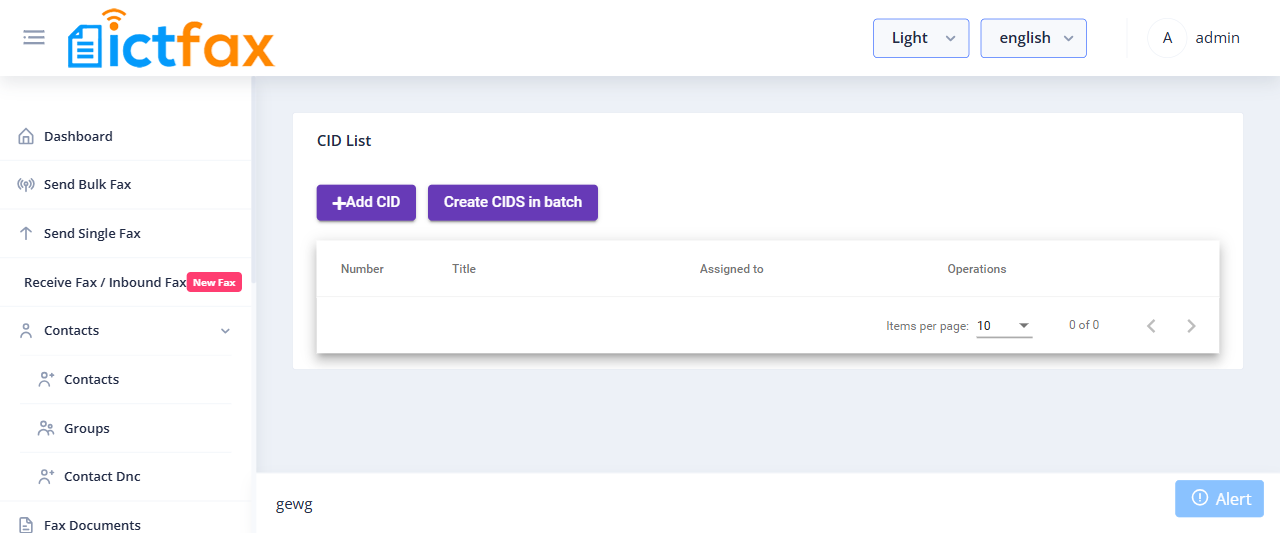
Manage the pool of caller ID numbers available for outbound faxes.
- Go to Administration > CID Number.
- Click Add CID, enter the number and label, then save.
- Assign CIDs to tenants as needed.
Tenants
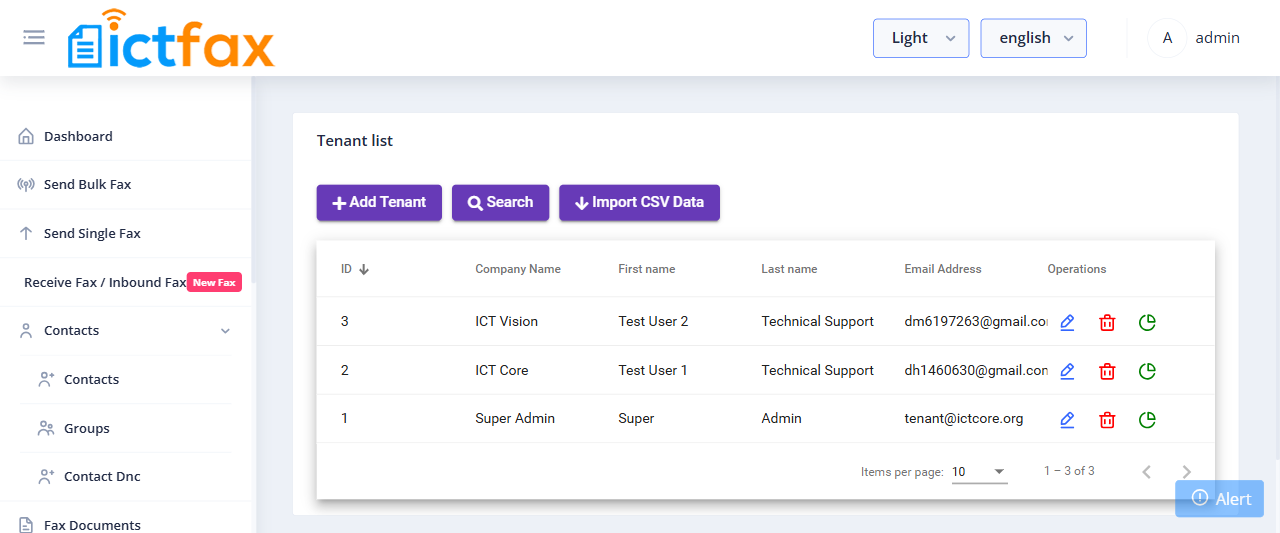
ICTFax is a multi-tenant platform. Each tenant manages their own users, DIDs, and fax limits independently.
- Go to Administration > Tenants.
- Click Add Tenant.
- Fill in the tenant details, set daily and monthly fax page limits, and set the retention period, then save.
User Management
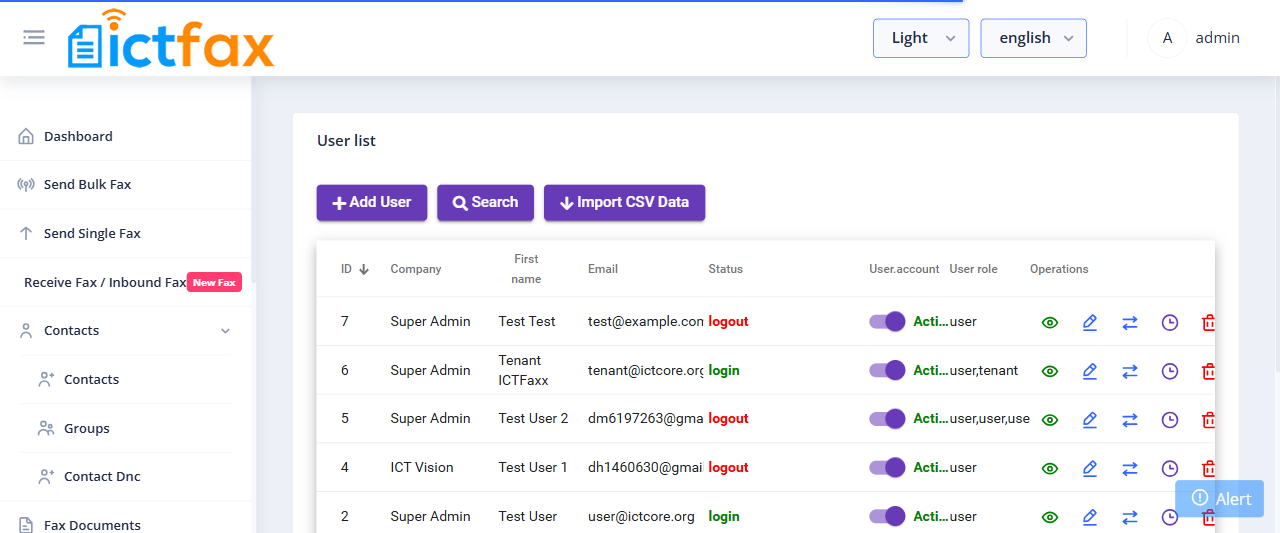
Create and manage users across the system. You can assign roles (Admin, Tenant, or User) and link users to tenants.
- Go to Administration > User Management.
- Click Add User.
- Enter the user’s name, login email, password, and phone number.
- Select the user role. Assigning both Tenant and User roles saves the account as a tenant, giving them the ability to create and manage their own users.
- Select the tenant to link this user to, then save.
10. Routings
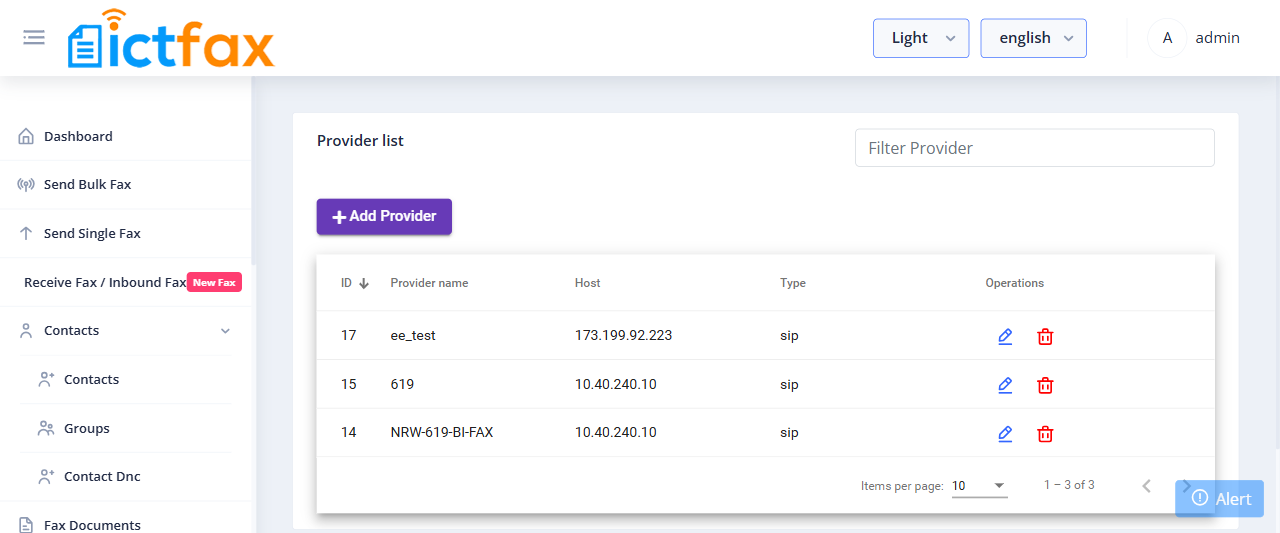
Providers / Trunks
Providers (also called trunks) are the SIP connections used to send outbound faxes. You need at least one active provider configured before campaigns can transmit.
- Go to Routings > Providers / Trunks.
- Click Add Provider.
- Enter the provider name and set Active to Yes.
- Select gateway type SIP.
- Enter SIP Username, SIP Password, SIP Hostname, and SIP Port. For IP-based authentication only, enter SIP Hostname and SIP Port (leave credentials blank).
- Save the provider.
Routes
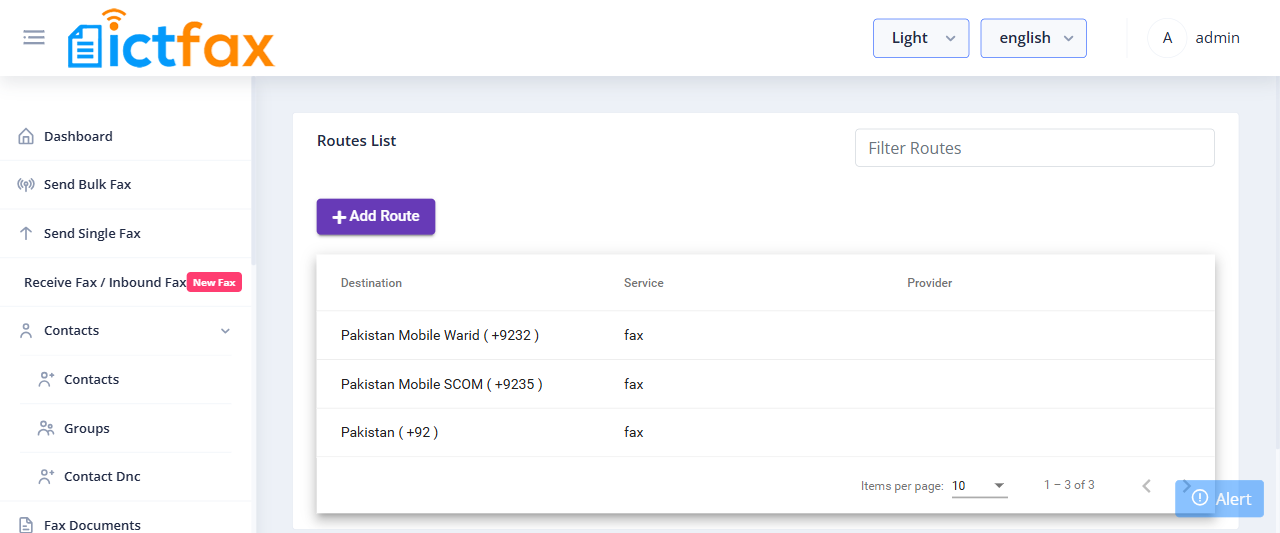
Routes let you control which provider handles outbound fax calls based on number patterns. This is useful when you have multiple trunks for different regions or prefixes.
- Go to Routings > Routes.
- Click Add Route.
- Define the number pattern, select the provider, and set the priority, then save.
11. Configuration
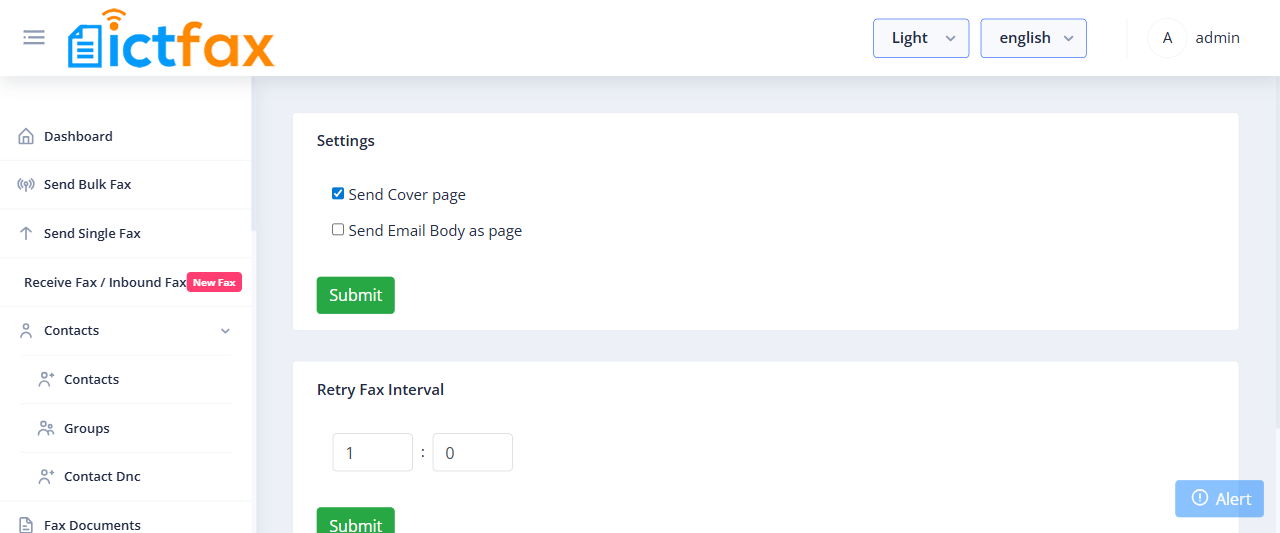
Fax Settings
Configure system-wide fax parameters including fax quality defaults, retention periods, and transmission settings.
- Go to Configuration > Fax Settings.
- Adjust the settings as needed and save.
Cover Page
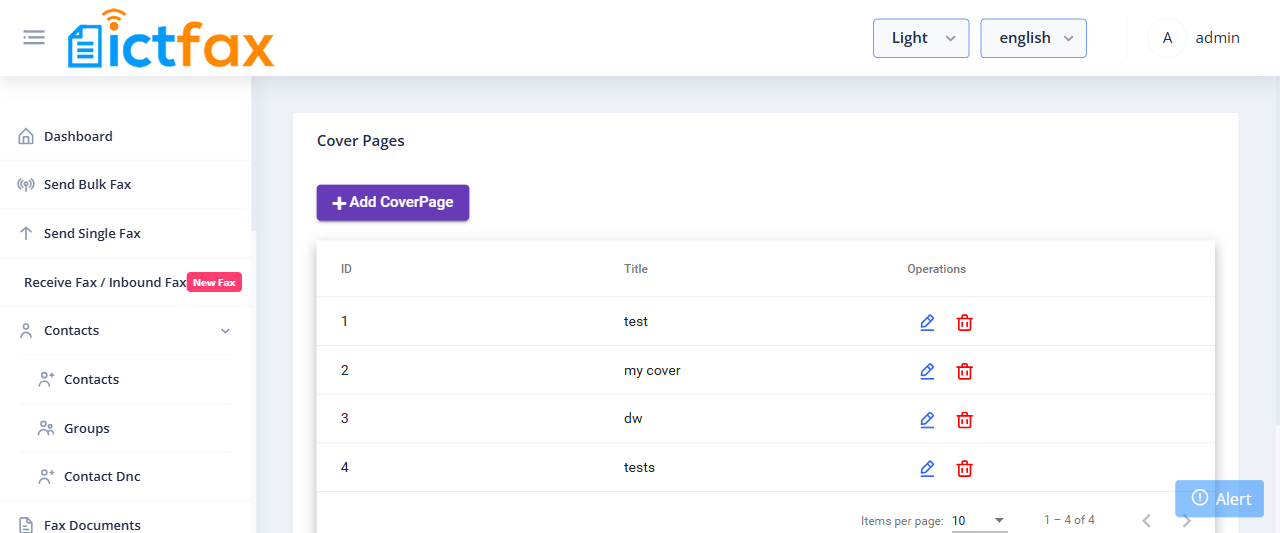
When enabled, the cover page prepends sender information (Send By, Send To, Phone, Date, Subject) to every outbound fax before the actual document.
- Go to Configuration > Cover Page.
- Enable the cover page and customize the template fields, then save.
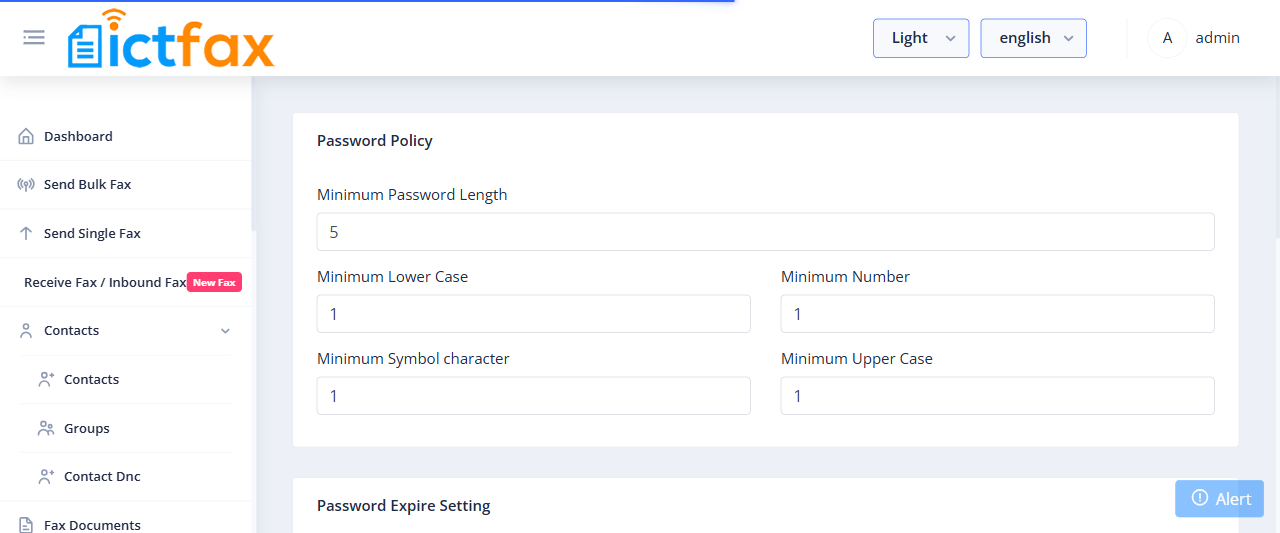
Password Policy
Set password strength requirements for all portal users. Enforce minimum length, character types, and expiry rules.
- Go to Configuration > Password Policy.
- Set your required rules and save.
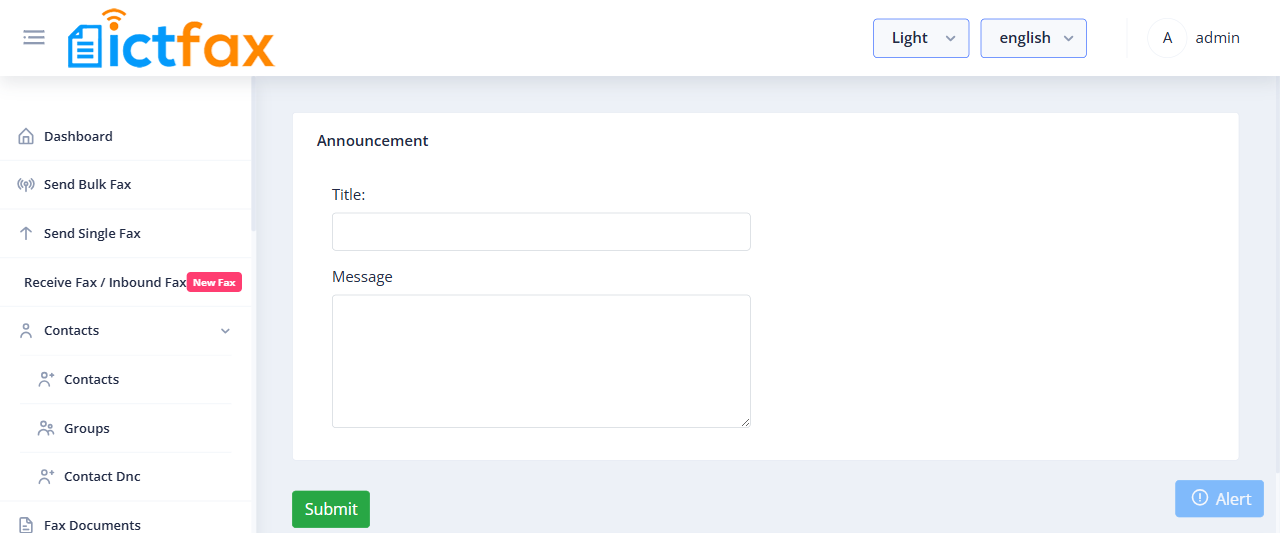
Announcement
Post a system-wide announcement that all users see when they log in to the portal.
- Go to Configuration > Announcement.
- Enter your announcement text and set an expiry date if needed, then save.
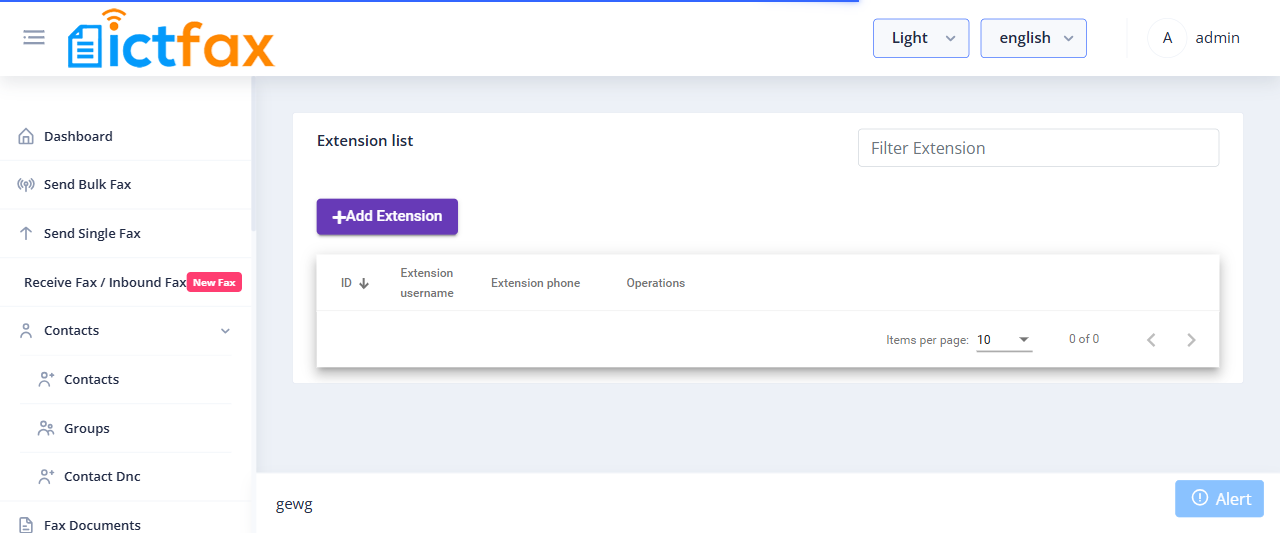
Extensions
Manage SIP extensions registered with the ICTFax system. Extensions can be assigned to users for direct fax routing.
- Go to Configuration > Extensions.
- Click Add Extension, enter the extension number and credentials, then save.
12. Reports
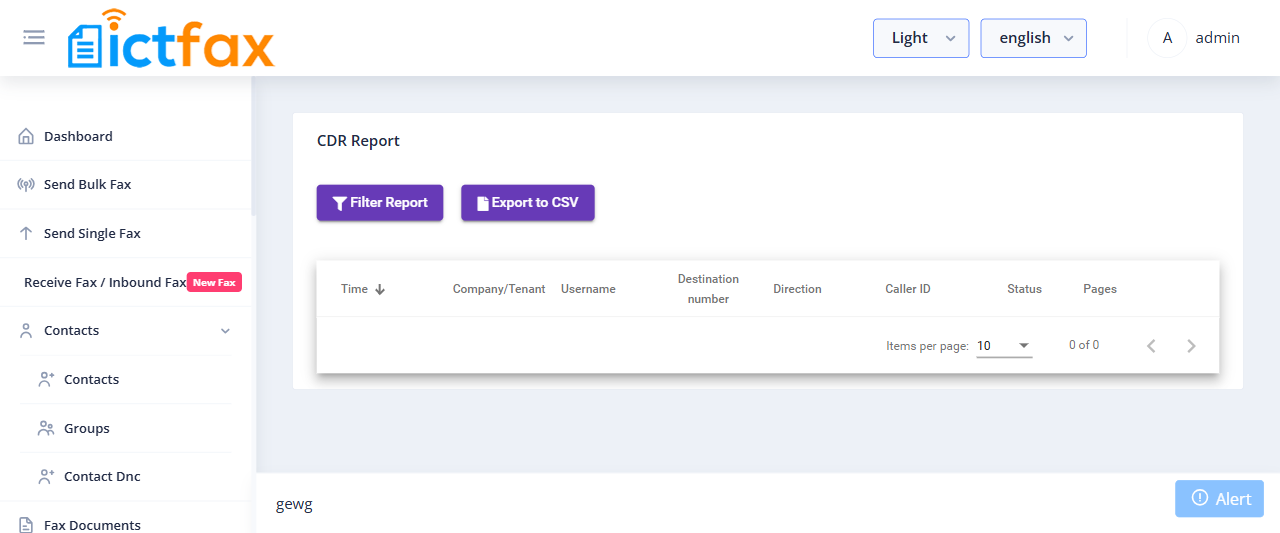
CDR Reports
The CDR (Call Detail Record) report shows the full history of all fax transmissions across every user and tenant: start time, end time, status, tenant name, username, destination number, and page count. You can export up to 30 days of data or pull an overall summary.
- Go to Reports > CDR Reports.
- Filter by date range, user, or tenant.
- Click Export to download the report as CSV.
System Activities
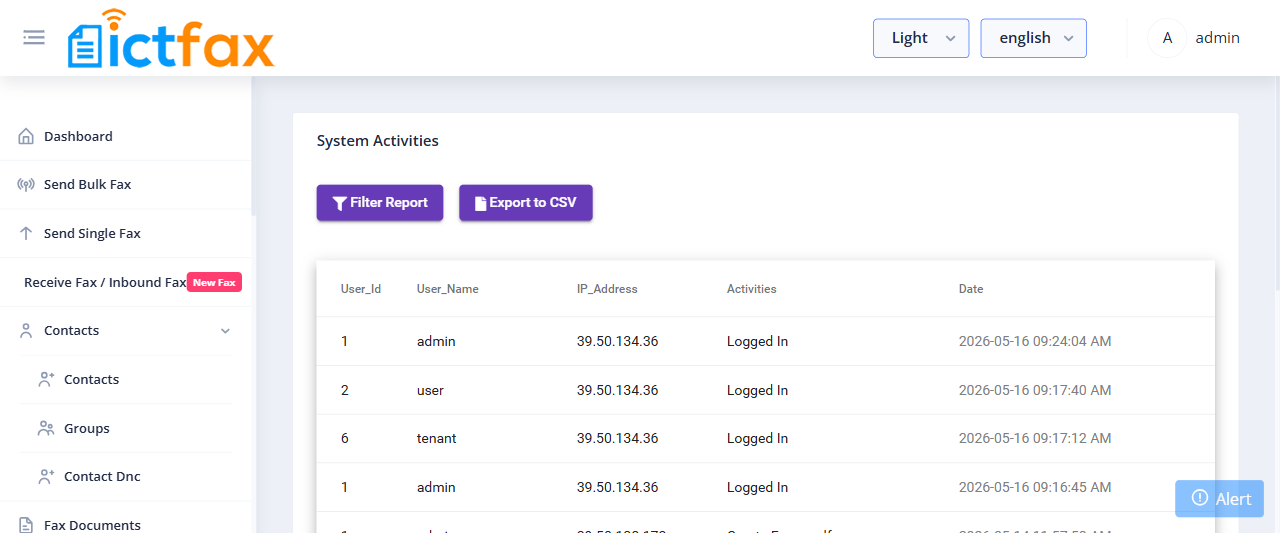
System Activities logs all administrative actions taken in the portal: logins, configuration changes, user additions, and more. Use this log to audit changes and troubleshoot issues.
- Go to Reports > System Activities.
- Browse or filter the activity log by date or user.
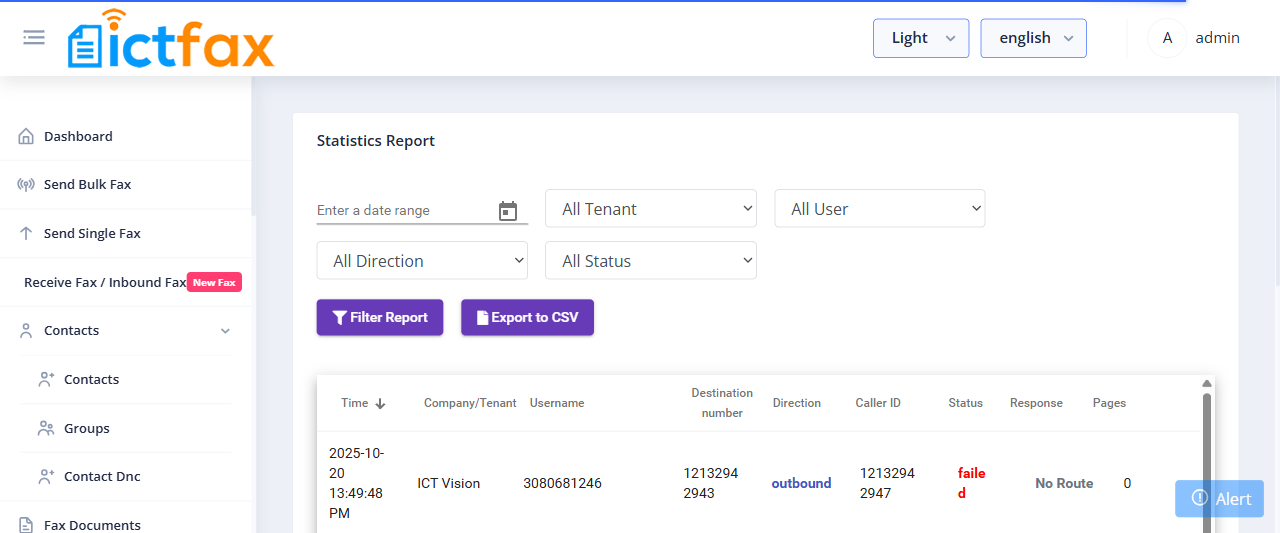
Statistics Reports
Statistics Reports give you aggregated fax volume data over time: daily and monthly page counts, success/failure ratios, and per-tenant breakdowns. Use this to monitor usage trends and capacity.
- Go to Reports > Statistics Reports.
- Select the date range and granularity, then view the charts and tables.